Remember having long conversations on telephones? Back when you had to pick up a landline, punch in a series of numbers, and then gab with your friends for hours?
That’s what Snapchat is for the Millennials – where today’s teens and young adults get their gab-fest fix. It’s no accident that they named it Snapchat.
The snap portion of its title corresponds to the ephemeral nature of the mobile app. Snapchat lets its users send pictures and videos that last only a few seconds. With a reported 100 million monthly users worldwide sending 700 million Snaps a day, it’s no wonder brands are interested.
Happily for any brand who wishes to communicate with the tech-savvy young generation, Snapchat said it’s now offering advertising. According to its blog post, the decision to begin ads is simple, they “need to make money.”
Any company looking to capitalize on this latest opportunity must adhere to one chief rule. It seems you can’t be “creepy and targeted.” Additionally, ads won’t be allowed in users’ personal communication, otherwise known as Snaps and Chats, because “that would be totally rude.”
Advertisers follow the same rules as users who post in Stories, the alternative way of sharing Snaps. They’re a series of Snaps added in the form of a narrative and are found in the “Recent Updates” section, disappearing after 24 hours or after they’re viewed.
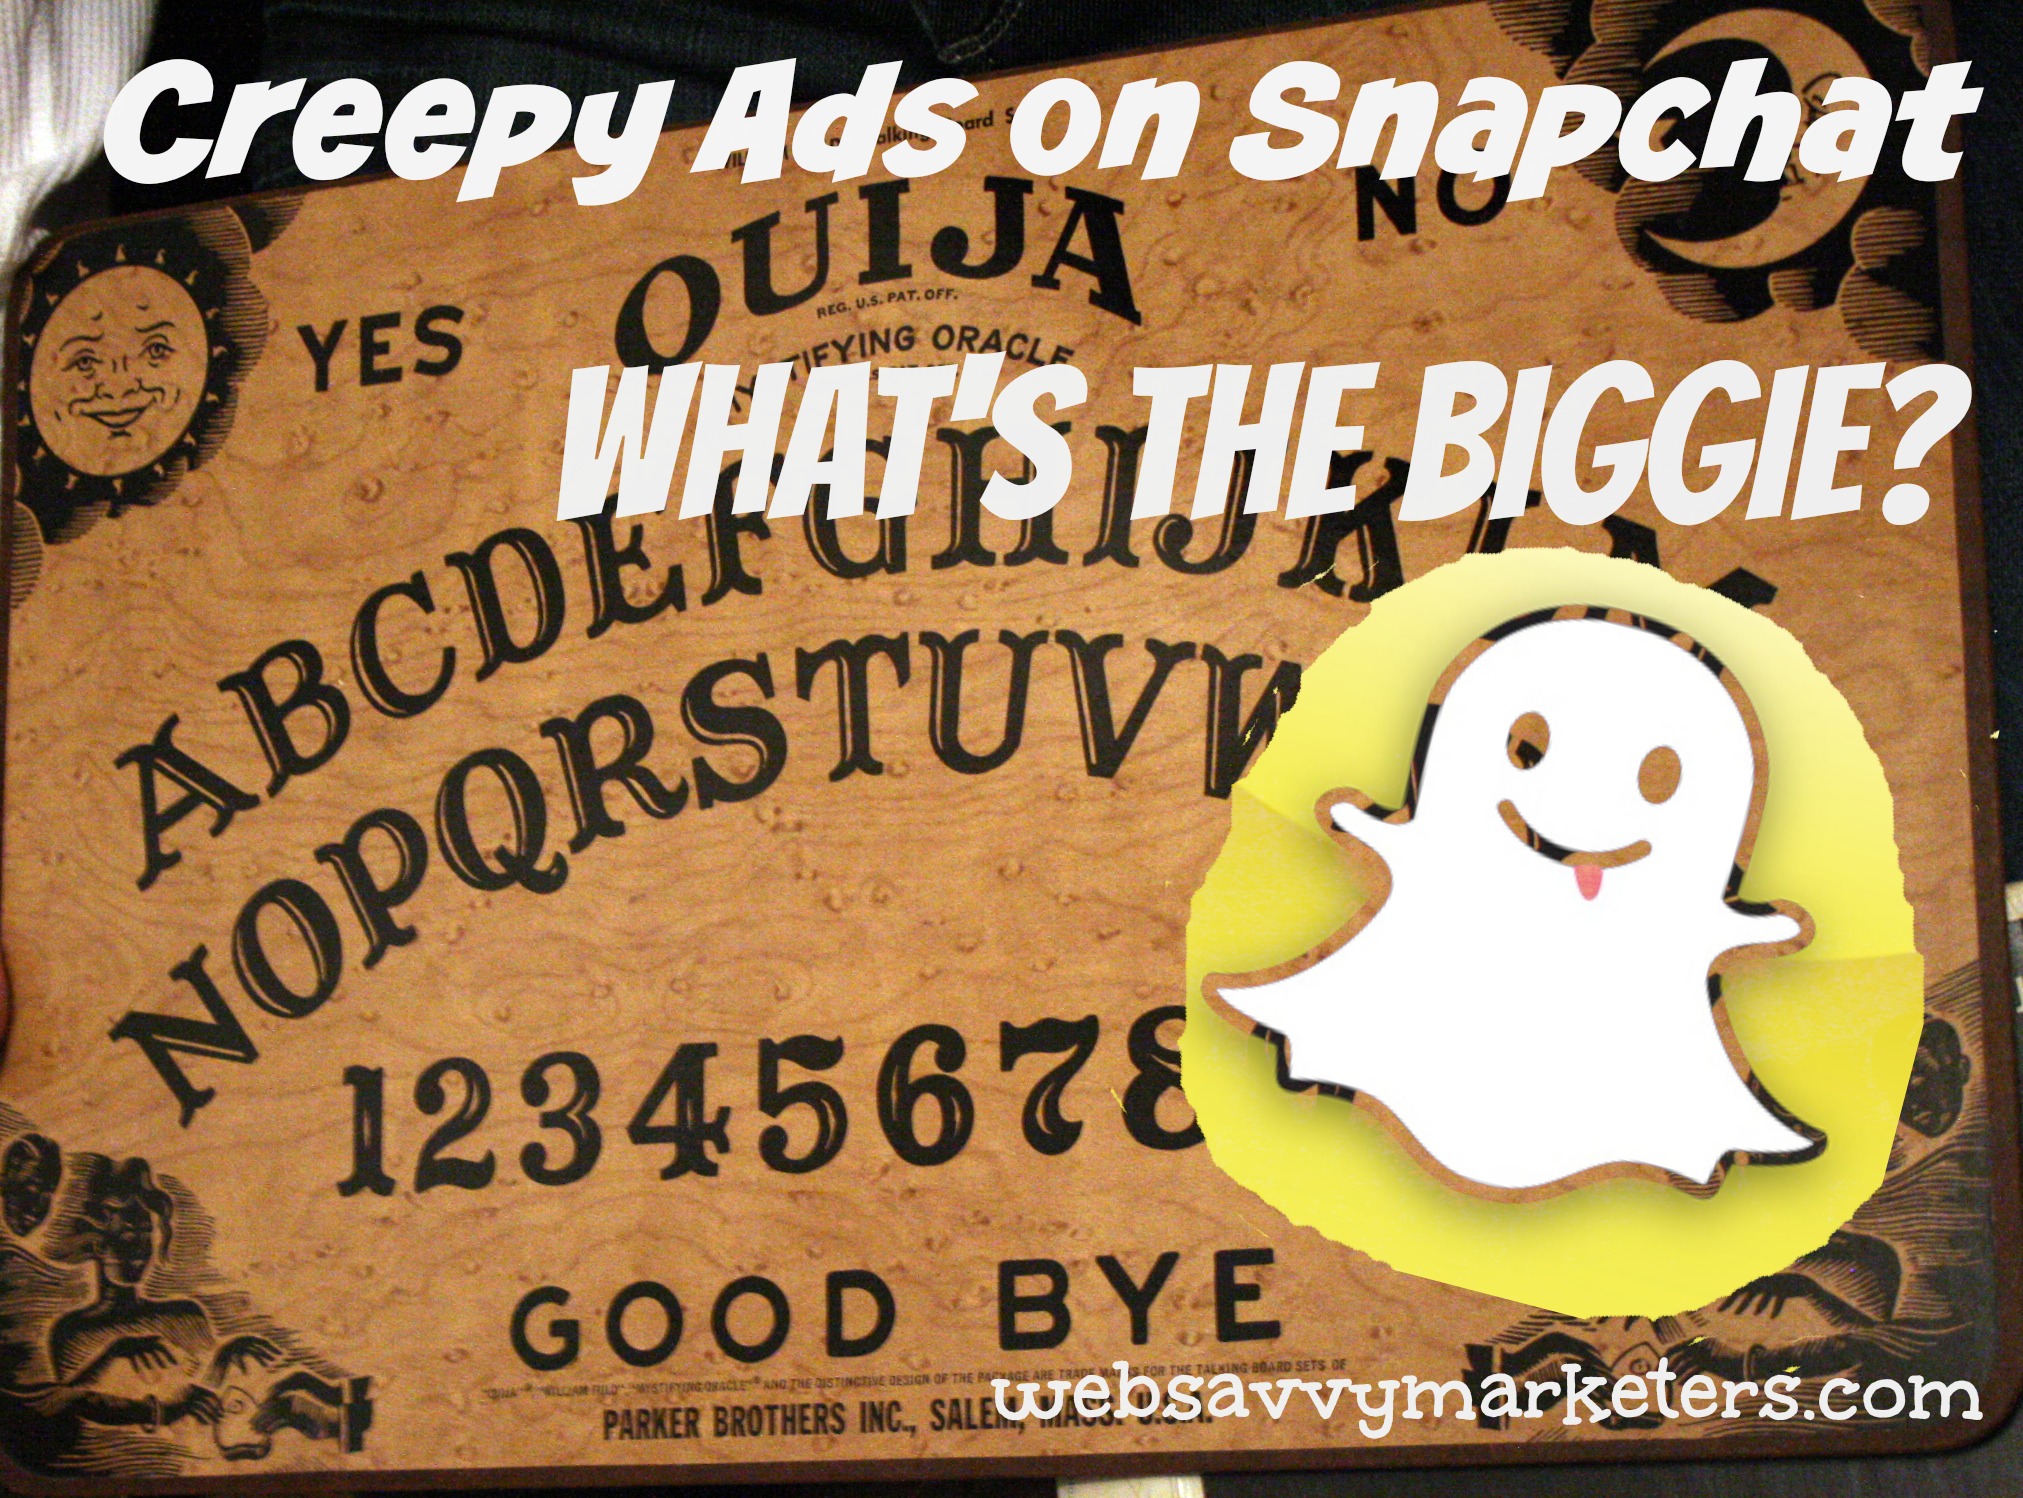
The first advertisement appeared over the weekend and was far creepier than expected, given its no-creepy-ads-allowed rule. The Snap ad, a twenty second trailer to the horror movie Ouija, makes you wonder if their public advertising statement, “It’s going to feel a little weird,” was a cloaked warning from the dark beyond.
In case users are concerned about the new advertising gig, Snapchat assures us that you can choose whether or not you want to watch the Snap ad. It is, after all, “no biggie,” Snapchat explains.
So if it’s no biggie, then perhaps brands will no longer be reluctant to work with Snapchat despite the messaging app’s reputation as a potential conduit for disagreeable direct-response advertisers, teen sexting, and other inappropriate content.
Snapchat said they won’t be giving advertisers any user data and that it doesn’t wish to target its users. How Snapchat could manage to do this is unclear given the nature of the messaging service and the erasure of user information along with the messages.
Only the United States will be featuring this first run of advertisements, which means only the U.S. will be subject to advertising described by some as “untargeted spam.”
The creepy advertising comes at a time when 200,000 Snapchat images were leaked via an app that allows users to save Snapchats without the sender knowing. The app site, Snapsaved.com, has since closed down since what’s been called the “Snappening.”
Despite Snapchat’s recent brouhahas, brands should keep an eye on opportunities for promotions, including Snapchats of discounts and coupons. While about half of the users are between the ages of 13 and 17, 77% of college-aged students use Snapchat daily, with half of them saying “they would open a Snap from a brand they’d never heard of.”
If you’re not already Snapping (if that’s even a verb yet), then perhaps you ought to be.