Web Savvy Marketers

  • About
  • Services
    • Strategic Planning
    • Marketing Programs
    • Full-Service Web Design and Development
    • Content Marketing
  • Industry
  • Portfolio
  • Blog
    • Tools & Tips
      • Google Tips
      • Internet Scams
      • Motivational
      • Tips for a good website
      • Website Writing Tips
    • Marketing
      • Internet Marketing 101
      • Philanthropy
      • Search Engine Optimization (SEO)
      • Social Media
      • Web design/Internet Marketing
    • Web Design
      • E-commerce
      • Website Maintenance
  • Contact Us

6 Ways Your Site Is Hacked and What To Do About It

June 4, 2014 Beth Devine

hackers
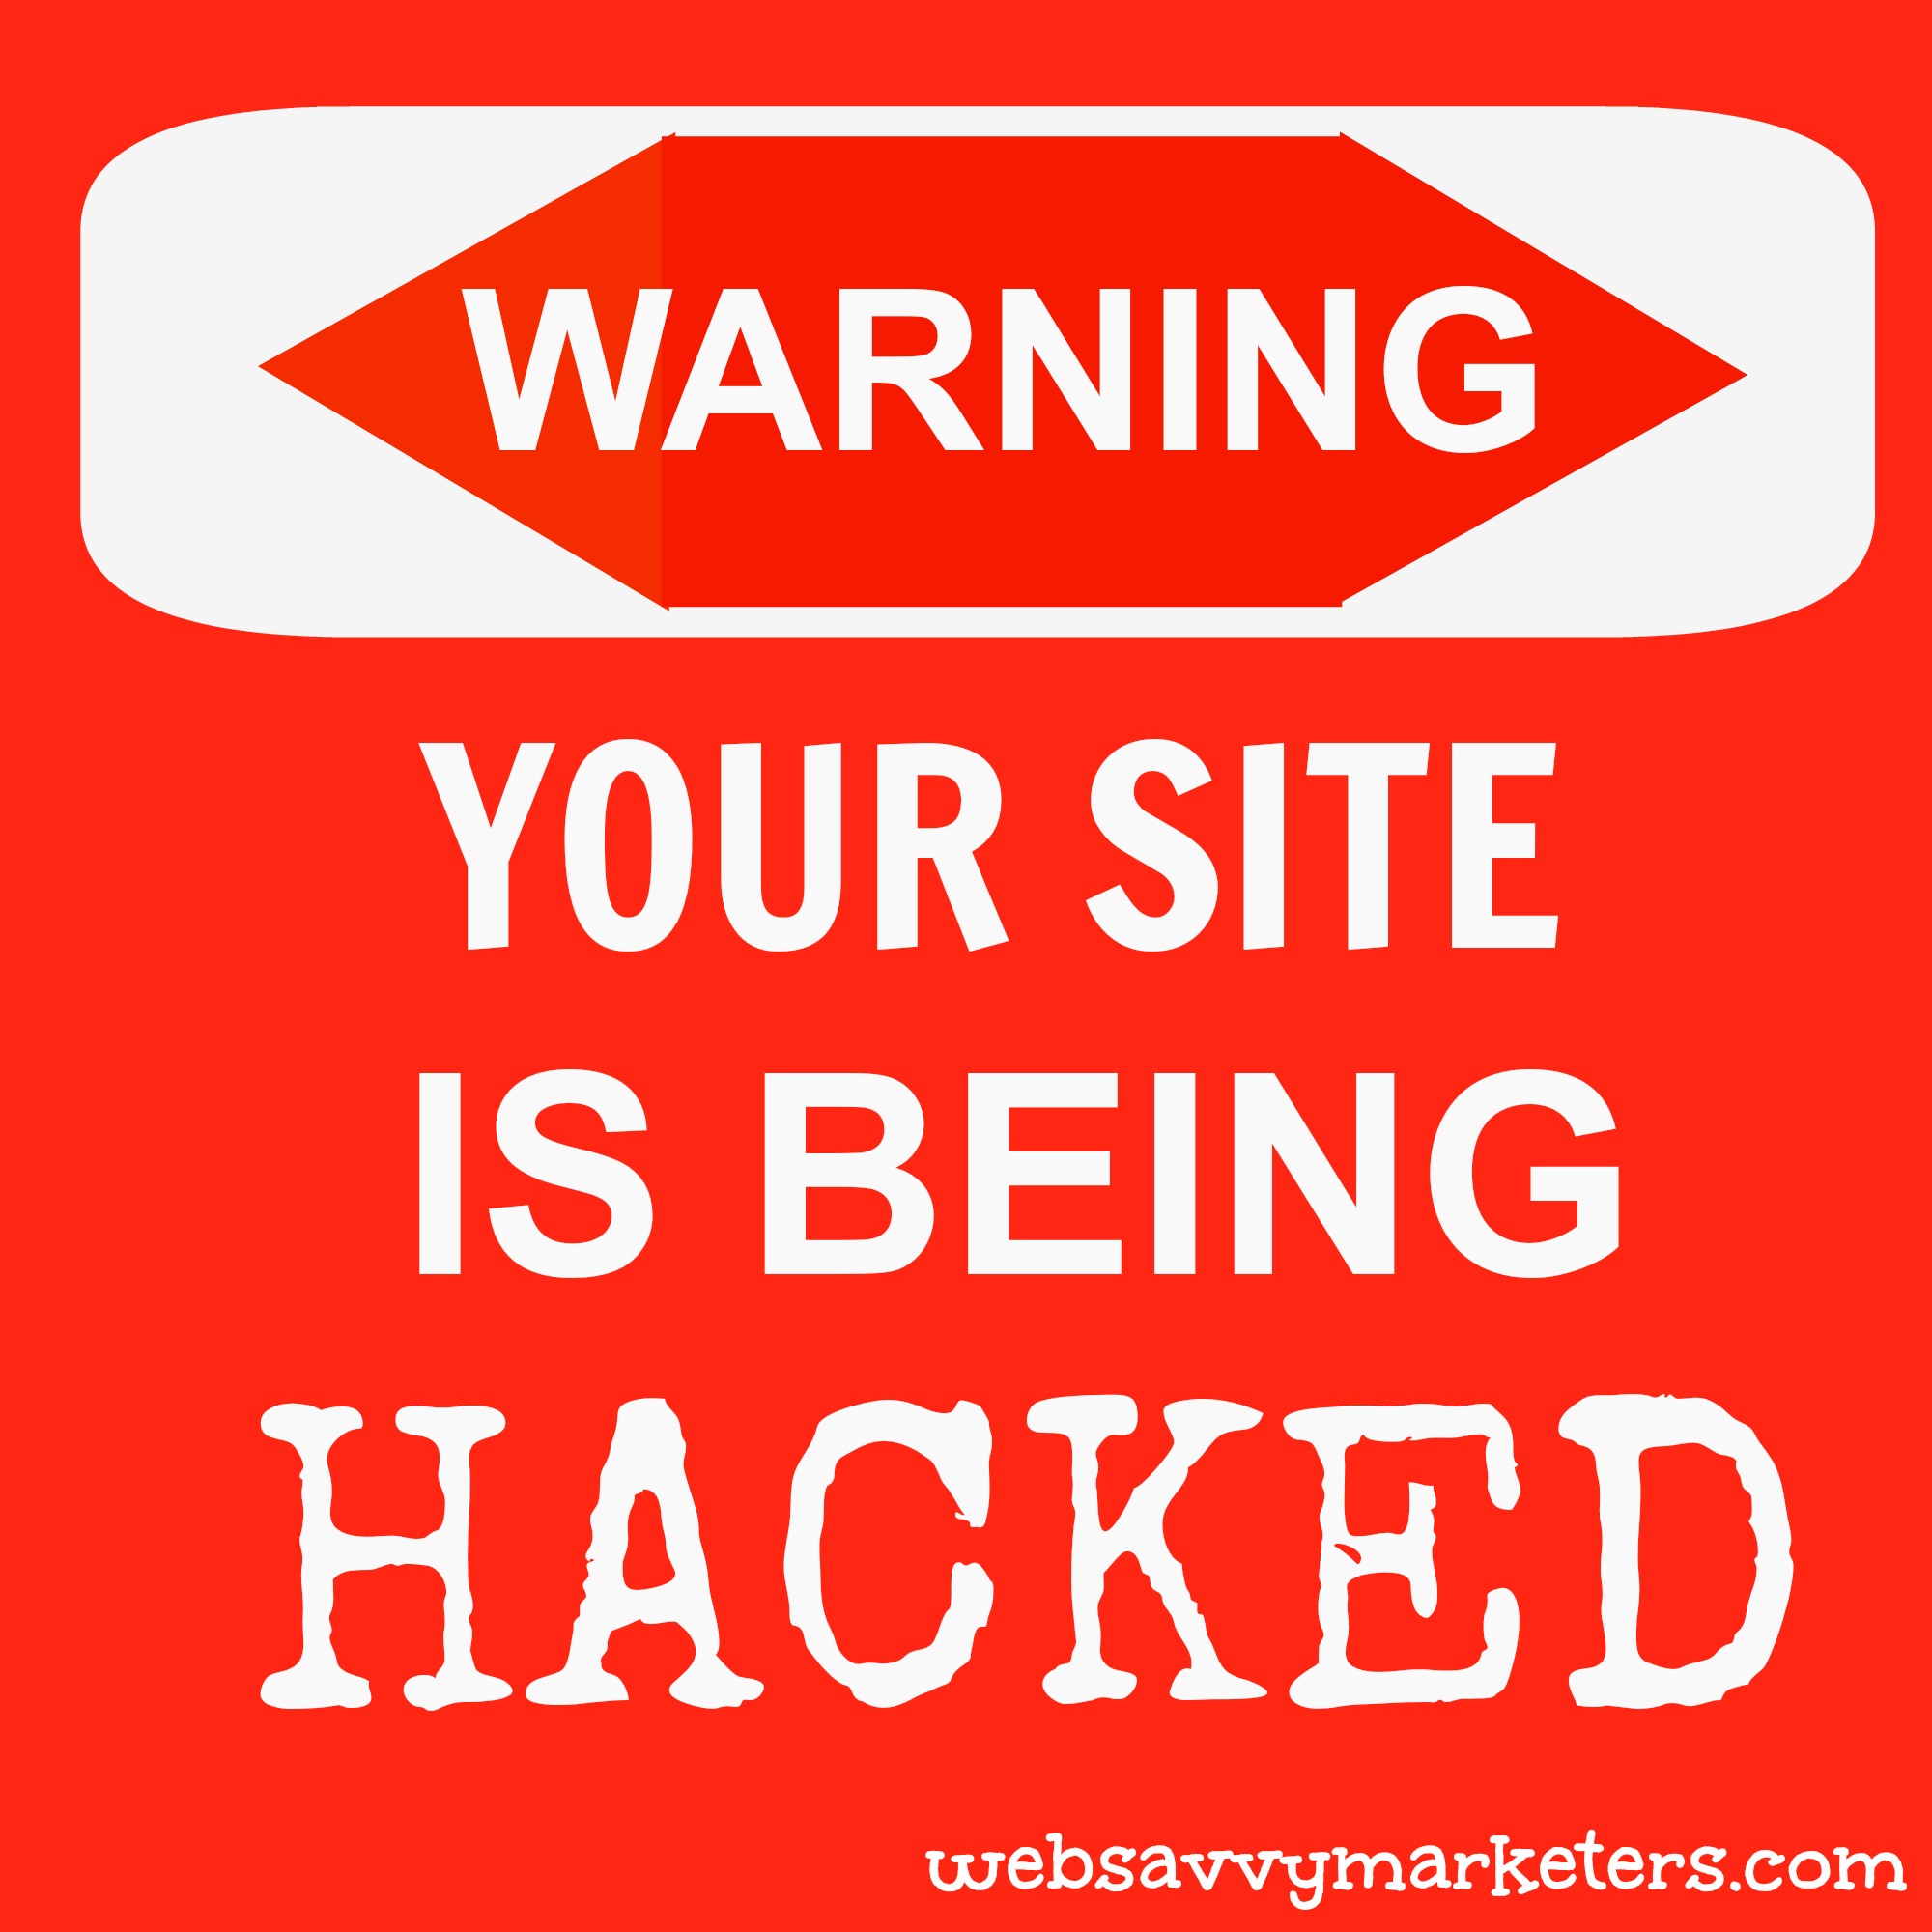
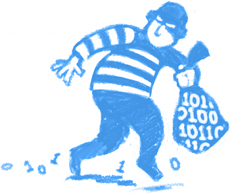
As you read this, thousands of hackers are working hard to hack your website and computer.

They are after your personal information, your social media accounts, and your website. Unfortunately, the safest measure to avoid hacking is to stay offline. Since that’s not feasible, you need to know what hackers do. Once you know that, then you can take preventive measures and worry a lot less.

Here are six popular hacker methods of attack:

Spamvertizing

When a site is hacked by spamvertizing, it means it’s included as a link in spam emails. The hacker has placed a piece of code somewhere on your site that redirects your viewers to a different site.

Why do they do this when they could simply send out emails with their own website link? Because spam filters have already flagged them as bad sites, and this way they can get more emails past spam filters.

The hackers will continue to spamvertize your site until it’s also flagged as spam and blocked, and then they will move on to a new site. This is when your web host will realize your site is spamvertized from complaints about the emails.

WordPress sites are common target as hackers go in search of new, uninfected sites to use for their spamvertizing.

Webcam control

Hackers are tapping into webcams around the world. To view some live action of webcam hacking, see Reddit’s list of controllable webcams. It’s hard not to when you know you can.

The scary news is there are ways for hackers to access your laptop camera or computer webcam without triggering the light that lets you know it’s being used. Despite all the claims otherwise, it appears there might only be one method to prevent this.

The most high-tech, failsafe way to protect yourself seems to be covering your camera lense with a post-it note or piece of tape. I used an expertly cut piece of Miss Kitty duct tape.

Phishing scams

Most of us wonder how anyone could fall for phishing scams. Those too-good-to-be-true emails that claim you have won a contest, job offer, or have money in an overseas account. Really?

Surprisingly, thousands of people fall prey to this each year, which is why these scams continue to flourish. Whenever you receive an email from an unknown source who is requesting information, never give anything away.

It’s no different than when you receive a phone call. You never provide any personal information to anyone unless you made the call to a verifiable number.

If you suspect your site is hacked with a phishing scam, call your web hosting company for assistance.

Trojan horse

Another use of phishing emails is the Trojan horse, where the hackers insert a virus into your computer. This virus can then send out spam email or attack other computers.

The virus is installed when you click on the file. Refrain from clicking on any link or opening any attachment. No matter how official the email looks, always go directly to the website to search for and open whatever is being offered.

Even if an email appears to be from someone you know, check with the sender to see if it’s valid before opening any attachment or link, particularly if there is little text included.

This scam can surface through social media with infected links. Be particularly wary of popups that tell you to update software or your video player.

Password hacking

The real trouble with password hacking doesn’t lie with intelligent guesswork. Most of the time, it involves data breaches at your web hosting company or another website that you’ve used your password with.

Sometimes, the hacker uses a virus embedded in your computer to access your system and record your passwords. Another method is to correctly answer your security questions. A simple way to avoid this is to supply answers that aren’t at all related to the question.

The bottom line is to create strong passwords, and to have different passwords for different accounts.

Open WiFi

Your business and home WiFi should be encrypted so outside users can’t connect. To be extra secure, set up a guest password with a separate guest password so your guests won’t have access to your files.

Once on your network, hackers and neighbors can surf to bad websites and download illegal files. They can see and record your activity and steal your information.

Just follow your WiFi router’s manual for instructions. When you’re in a public place, disable the WiFi if you’re not using the internet.

What to do about it.

Up-to-date security software

This is an absolute must. Security software will detect and prevent many viruses before they are installed. Be sure to keep it current at all times.

Plugins

Wordfence is my personal favorite WordPress plugin. They are a front line defense against hacker attacks. If for some reason hackers manage to slip through, Wordfence will alert you.

You get a lot of excellent site protection with the free version, and the paid features do even more, including early warning systems for spamvertising.

Google Webmaster Tools

This is a handy way to check and see if you’ve received a security threat. Go to your verified website in Google Webmaster Tools and click on Security Issues in the left side bar. It will let you know if they’ve detected any.

Cross-site Malware Warnings

When Google detects a site contains malware, it alerts users who are visiting the site with a browser warning. This lets users know that the content they are loading from a site has been identified as malicious.

Sometimes a site isn’t flagged on Google’s Safe Browsing list as unsafe, but there’s still a browser warning. This happens when a website has loaded content from a different site that contains known malicious content.

This is called a cross-site warning, and you will see this warning image:

site is hacked

If this occurs on your site, Google recommends locating and removing any reference to the domain that’s caused the browser warning. For more information on what to do, read Cross-site Malware Warnings.

Safe browsing site check

You can monitor the status of any site with the Google Safe Browsing diagnostics page. If you have any cause to doubt a site’s safety, this will help you determine if you should attempt to open it.

Filed Under: Internet Scams, Kacee's Posts, Tips for a good website

Why Color Matters In Your Marketing Decisions

May 28, 2014 Beth Devine

Why color mattersThis image is a derivative of web 2.0 by tyger_lyllie, licensed under CC BY.

What matters most when you make a marketing decision? Science shows that the visual has more impact on people than any of our other senses.

While the visuals of design, power words, and your main image all influence online behavior, your marketing decisions on color matters in how you are perceived.

What are the messages you are sending with your website colors? Are you taking advantage of the full effect of colors? A well-chosen color scheme can give your brand a unique message and convey the right emotions.

Want to know what colors mean to you compared to over 30,000 other responses? Take the color survey to find out.

Color is a key factor in brand recognition

Some of the most recognizable brands rely on color. Check out the power of color on this website and see how well you can identify brands by viewing a small section of their logo.

As this recognizable brand test demonstrates, brand recognition is often color dependent. Recognition can increase by up to 80% through the use of color, according to a much-touted University of Loyola, Maryland study.

Not only that, but brands are growing increasingly color-centric in their identity. Consider the red signature sole of Louboutin. Louboutin filed a trademark infringement claim against Yves Saint Laurent, who dared to use the red sole in their shoes that Louboutin claimed was their visual identity.

Louboutin was unsuccessful in this case, but others have been able to register a color as a trademark. Here’s a link for a list of currently registered trademarks.

Color increases memory

Studies show that pictures with natural colors, or “living colors” are more appealing and are more easily remembered than black and white. Compared to the colors of nature, falsely colored scenes did not improve memory.

“Perhaps designers should be aware that, in order to engage or grab one’s attention (as in advertising), bright colors might well be most suitable,” Felix A. Wichmann said, author of “The Contributions of Color to Recognition Memory for Natural Scenes.”

“If, on the other hand, the aim is more to have an image ‘stick’ in the viewer’s memory, unnatural colors may not be suitable.”

Color has meaning

Color has significant and unique meaning based on cultural, historical, and natural elements. Our perceptions of a color are based on how we have experienced it.

Red is seen as signaling danger, anger, and love. As the color of blood and fire, it was also extremely hard to come by. Ironically, much of the dye used to make red still comes from the cochineal beetle.

Red is one of the top two favorite colors, and is in three-quarters of the world’s flags. All languages have a word for black and white, with red the next color to exist.

The color green is now also a verb. It is intrinsically linked to nature, rebirth, and ecology. There are more shades of green than any other color.

Green is used to describe our moods. If you are nauseated, you are green around the gills. When you’re jealous, you’re green with envy, and when you’re green behind the ears, you are showing your immaturity.

Blue rates as the favorite color for all people. It’s the most common color in corporate branding and is associated with peace, denim, and trust.

It is also the $80 million color that Bing chose for its call-to-action links, making it a similarly colored blue to Google’s shade of blue.

Blue has its share of expressions, including blue laws, blue bloods, blue streak, blue book, and true blue. Without blue and all its varied meanings, we would most assuredly be singing the blues.

The colors of various brands can tell us a lot about what they wished to convey, as this chart shows:

Color Emotion Guide

Explore more visuals like this one.

Color choice can impact participation

The button color test has long been a way to see what color influences participation. What they found out might surprise you.

The colors red and green were selected. Red, as we’ve seen, connotes passion, and it is associated with “stop” as well as warning. Green, on the other hand, generally means “go” and points to nature and the environment. It is also the color most used for buttons on websites.

The test showed the red button won over the green button by 21%. While you shouldn’t go out and change your button colors, it’s not a bad idea to test your button colors with your audience and your website to see what the results are.

Color and gender preference

The True Colors survey says that blue ranks #1 for both males and females. Purple doesn’t rank at all with males, but it’s the second favorite color for females.

For least favorite colors, the genders are more similar, with both choosing brown and orange, although in different ranking order.

“Men keep it simple” couldn’t be more accurate. Woman give more names to color variants, allowing for grape, plum, or eggplant for purple, while men like to call purple by its name, not some fruit. (Yes, eggplant is a fruit.)

Men are also more likely to be color blind. Approximately 1 in 12 men and 1 in 20 women are affected by color blindness.

Color blindness is a color vision deficiency that is most common in a red/green deficiency. This means that people will mix up all colors that have some red or green as part of the whole color. For example, a color blind person will be unable to see the difference between blue and purple.

Vischeck simulates what color blind vision is, as well as offers a way to correct images for color blind viewers.

Choose your colors with this information in mind so you can show your true colors with confidence.

Filed Under: Kacee's Posts, Marketing, Tips for a good website, Web Design

What’s New With WordPress 3.9 and How Does It Work?

April 29, 2014 Beth Devine

WordPress 3.9 Is Named After a Jazz Pioneer

The new WordPress 3.9 features will make your life rock, or rather jazz, since the memorial naming of new versions is after jazz musician greats. Jimmy Smith, whose organ-loving skills brought said instrument into the jazz and blues music scene, is the namesake for the latest version.

Only two of the twenty-four WordPress versions have been named after female jazz greats: Ella Fitzgerald and Carman McRae. Seeing how code lacks any biological characteristics, you could argue that it’s irrelevant whether a version has a male or female name.

But still.

The latest “Smith” WordPress 3.9 version has a great roundup of new features. Even if it is another male moniker. Here’s how it works.

Audio Video Playlists

There’s no need to install a plugin to create your own playlist of songs. You upload video and audio using the media library, just like you do images. Once added, you can choose to create a playlist.

WordPress 3.9 featuresJust drag and drop your favorite tunes right from iTunes! The album cover artwork is supposed to be added, but it doesn’t seem to work consistently. If it does fetch the artwork, it will display for the tune selected for play in the post.

Mad Media Gallery

No more navigating back and forth between the edit page and the media library. Now you can see live previews of your media, including a new media gallery view.

The updated visual editor also allows you to drag and drop your images from your desktop right into your post. When you do this, the images are automatically added to the media library and formatted to the post.

Instant Image Resizing

Once your image is added to your edit page, you can also resize it right on the page.

WordPress 3.9 featuresForget the days of having to open and reopen the edit window to make incremental reductions in size. All you have to do is click on the image, grab the corner, and drag.

Wonderful Widgets

Widgets are easier than ever to add and view. Without having to leave the screen for a preview, and then refreshing it to see how it looks, you can see an immediate view of them in the sidebar.

WordPress 3.9 featuresAll this is done from the theme customizer. Once you’re satisified with your changes, then you can save them for the rest of the world to see.

No-Fuss Copy and Paste

This added feature lets you copy your Word-type document and paste into your edit page without all those annoying added paragraph breaks.

You are free to end your backspacing antics in order to rid your text of all the paragraph gaps. Things transition smoothly, unless you’re copying and pasting from Google Drive. No such luck with pasting from that software – you’re still going to be deleting paragraph breaks.

Easy Theme Preview and Installs

Want to try a new theme? Now it’s easier than ever to browse and try out new ones. The header image feature is also improved for more flexible image additions and changes.

Now that you know how it works, update to WordPress 3.9 and start having some fun!

Filed Under: Kacee's Posts, Tips for a good website, Website Maintenance

Easy Way to Get Your Own Favicon (That Little Image in the Browser Tab)

December 4, 2013 Beth Devine

easy steps to getting your own faviconAfter hours of trying to figure out how to install my own favicon in WordPress, I finally unravelled the mystery. Here it is, from one computer newb to another, an easy way to get your own favicon.

What’s a Favicon and How Do I Get One?

If, like me, it hadn’t even occurred to you to possess an image in the browser tab when your website is displayed, then you’re a super computer newb. This is why I’m here to explain this amazing process to you in user-friendly terms.

Because everyone in cyber land who writes about these things is far from a computer newb, it can require herculean mental stamina to figure them out. I did the mental weightlifting for you.

A favicon is short for “favorites icon,” and is the tiny graphic image you see on each browser tab in browsers such as Chrome, Internet Explorer, Firefox, Opera, and Safari. It also shows up in other places: a bookmark list, in certain feed readers, and with the site’s title in the address bar.

Having one means it’s simple to identify which tab is your website, making it quicker for your viewers to locate, particularly when multiple tabs are open. It also lends credibility to your site and helps with branding your work.

How to Get Your Own Favicon

1. Choose an image.

A favicon must be 16 X 16 pixels and have an extension of “ico.” You can choose whatever image you want, and Favicon Generator will do all the work of making your image into the right dimensions and ico file.

2. Save your favicon to a computer folder.

By keeping it named favicon.ico, you can easily use the code I’ve supplied without having to make any changes. Save it so you’ll know where to find it for uploading.

3. Upload your favicon.ico into your root directory.

This means going into cPanel. For directions on how to do this, see my post How to Change Your WordPress Username. You will need to know your username and password, so ask your web hosting company for this information. It’s good to have!

4. Once in cPanel, follow these steps or this path:

public_html/websitename.com/wordpress/wp-content/themes/themename/images

  • Click on the public_html folder.

  • Click on websitename.com folder. (Whatever your website’s name is.)

  • Click on wp-content (or wordpress first, if that comes up) folder.

  • Click on themes folder.

  • Click on your themename folder. (The name of the particular theme you use for your site.)

  • Click on images folder.

  • At the top click on upload and find your favicon.ico in your computer folder to upload.

  • Check that it’s there in the images folder. It should be in alphabetical order.

5. Copy and paste this code into your header.php.

In your WordPress dashboard, go to Appearance, Editor, and then Header (which should be on the right side). Once you’re in the Header, scroll down until you see code that starts with <link rel=. Copy and paste the following code at the bottom of all the other link code so that both lines of code have their own line:

<link rel=”icon” href=”../favicon.ico” type=”image/x-icon” />

<link rel=”shortcut icon” href=”../favicon.ico” type=”image/x-icon” /

6. Check that the file names match.

If you named your ico file something other than favicon.ico, then be sure to change the code so it has the correct name (i.e., myfaviconrocks.ico in place of favicon.ico).

If you ever decide to change your favicon, be sure to erase any of the code that pointed to the old favicon image.

7. Hit Update File at the bottom of the page.

Otherwise your changes won’t be saved. You really are a computer newb, aren’t you?

8. Your favicon should now show up in the browser tab.

I generally work in Chrome, and my favicon immediately showed up in the second tab I had open to my site – the one I wasn’t working on but was just using to check for success. Hitting the reload or refresh button seemed to work for others, but mine still doesn’t display on the site when I am working in the dashboard.

When Your Favicon Doesn’t Display

Your favicon might not display in your WordPress site when you are working from the dashboard. It might not display in the address bar. It should, however, display in the browser tab when you are on the site.

Weird tip for Internet Explorer: I read that by dragging the site name down from the address bar several times, the favicon would eventually appear.

WordPress Plugin Note: I chose not to install a plugin because all of them gave me a warning that they weren’t tested for compatibility with the latest version. The only one that didn’t say that had a different warning that I discovered elsewhere. It’s important to research any plugin you use.

Filed Under: Kacee's Posts, Tips for a good website, Tools & Tips

3 Lessons to Learn from Obamacare Problems

November 1, 2013 Beth Devine

Obamacare problemsIt isn’t easy to build a website and remain free of all possible problems. As Super Savvy Carolyn will tell you, “It isn’t easy to do my job.”

In response to the Obamacare problems, a web designer might feel one part commiseration and one part exactness. I feel your pain, but I would hopefully be able to do better.

The Obamacare problems are massive and multifold. The Healthcare.gov website is only part of the disappointment and frustration.

However, breaking down the debacle into oversimplified lessons proved irresistible and instructive and even entertaining, thanks to Jon Stewart.

Obamacare’s problems can teach us 3 lessons on how to approach any web design project.

1. Technical Problems

From the initial logging-in problems to the website crashing to the delayed enrollment process, the technical problems with the Healtcare.gov website have been one of Obamacare’s biggest difficulties.

“Sloppy” contractors and the process of choosing them are being blamed for the faulty website infrastructure that will purportedly require more time than predicted for substantial improvement.

Jon Stewart on The Daily Show discusses Obama’s “tech surge” move to try to assist in fixing the website problems. When you have to implement a “tech surge,” things are looking very bad indeed, and Pac Man attacking is not a good sign.

Hopefully this tech surge will be able to solve the critical problem of where to access the healthcare information for the 47% of the uninsured who are uncertain of how to learn more about Obamacare.

The latest technical problem involves the shutting down of a data center, stopping all fifty states from online enrollment.

Lesson learned:

Build a solid website from the ground up, hiring skilled people who are invested in helping you implement a successful end product that is easy to navigate.

2. Security problems

A security flaw in the coding of Healthcare.gov has been revealed as allowing “clickjacking,” invisible links planted in legitimate websites that give hackers access to private information.

When a user inputs personal information such as a social security number into the faulty website, these invisible links give hackers the ability to create “fake identities, fake credit cards, and fake accounts very easily,” according to a Mother Jones interview with Kyle Wilhoit, a threat researcher at Trend Micro, a Japanese security software company.

Worse is the impression that the federal contractors who are responsible for the cybersecurity of the Healthcare.gov site don’t take it seriously.

Lesson learned:

Industry leaders as well as programmers must take responsibility for online security because we are all potentially affected by gaps in cybersecurity.

3. Planning problems

The Healthcare.gov site’s fiasco began with planning problems. The end-to-end testing wasn’t given enough time, the decision to go live October 1 was premature, and shelving a window-shopping feature just before going live probably contributed to a bottleneck instead of allowing users to look before registering.

From the smallest website project to a nation’s healthcare digital infrastructure, bad planning will come back to haunt you. And if you’re inaccurate or you make promises you know you can’t keep, you will be haunted even more.

According to experts, the Obama administration knew that millions of Americans wouldn’t be able to keep their existing health insurance, despite Obama’s highly televised claims otherwise.

The latest affront to the broken promise is the appeal for funds by OFA, funneled through emails requesting a survey on Obamacare that, once completed, directs the user to a donation request to support Obamacare.

Lesson learned:

For project success and fulfillment, don’t skip the necessary planning required. Undergo tedious testing, practice thorough development, and design insightful solutions as part of planning a successful website.

Oh, and part of planning means staying informed. Don’t make claims that you know aren’t accurate. It messes with your inner glam.

Photo courtesy of A Futurist at the Movies.

Filed Under: Kacee's Posts, Tips for a good website, Tools & Tips, Website Maintenance

Mark-up Your Website With Rich Snippets for Better SEO

October 9, 2013 Beth Devine

Wordpress plugins for simple website mark-upWhen you hear about mark-up for a website and you instantly think “code,” you’re only partly right. Maybe even mostly right. Because this whole rich snippet mark-up process means helping search engines to understand the content in your HTML, while still keeping it user-friendly for us humans.

This extra bit of text that appears under search results is a very good thing for search engine ranking and your website SEO.

There’s hope, however, for anyone who dreads HTML code like it’s a giant, eight-legged arachnid. If you want a rich snippet mark-up for better search results without the hassle of code, read on.

WordPress Plugins for Simple Rich Snippet Mark-up

Google has adopted the schema.org method of mark-up for websites, which is a structured data standard of microdata for search engines to make sense of . For example, if you write a review, and you mark-up your website with schema, you’re teaching the search engines not only about the item you reviewed, but also that it was you specifically that reviewed it.

If you have a website or blog that could benefit from mark-up for a person, product, event, organization, movie, book, or review, then an easy way to do this is with Schema-creator.org.

This site helps you create a schema, or code. Then you take this schema code and copy and paste it to your site. Super simple, right? But what if your content doesn’t fall into any of those categories?

If you have an in-depth article then you’re in luck, because a new WordPress plugin was created to qualify your content for Google’s new In-Depth Article search results feature. (To learn more about this, check out Google’s Webmaster Tools on In-depth Articles.) By using the new In-Depth Articles Generator, your site will be automatically marked-up with metadata to better present your in-depth content as a potential candidate for this new rating.

If you’re still looking for options, there are two other WordPress plugins, All in One Schema.org Rich Snippets and Schema Creator by Raven. Both are limited in the item types you can choose from, but they are by far the quickest and easiest way, and there’s no eight-legged code spiders to worry about.

Rich Snippet Mark-up for Newbies

Finally, and perhaps the simplest way to mark-up your site with rich snippets is with Yoast’s WordPress SEO. For every post and page you generate, it gives you the option of creating a rich snippet. Although it doesn’t use microdata like schema.org, the word is – so far – that Google will continue to accept other forms for rich snippet mark-up.

For ranking purposes in search engine results, decide which way you will mark-up your website and gain some SEO advantage. This isn’t mark-up magic. It’s real and it’s going to affect your website.

Code spiders, on the other hand, aren’t real. In case you were worried.


Filed Under: Kacee's Posts, Marketing, Search Engine Optimization (SEO), Tips for a good website, Tools & Tips

5 Easy Ways to Build Links to Your Blog (With the Help of Dr. Seuss)

September 27, 2013 Beth Devine

Dr. SeussWhen you build links to your blog, it requires a dose of common sense, rather like that of a Dr. Seuss chant: “You have brains in your head. You have feet in your shoes. You can build yourself any link that you choose.”

That sort of chant. Fortunately, you’re not on your own. And you can know what they know. And you are the one who’ll decide where to go.

There goes the chant again. It’s so simple, and it works.

Have a go with these 5 easy ways to build links to your blog, content marketing’s best friend.

1. Create everlasting content with an evergreen post

Consistently writing a quality blog not only creates content that will drive traffic to your website. It’s a steady way to organically generate inbound links as people naturally want to link to your valuable posts.

One evergreen blog post – one that is sustainable for years, like the tree of the same name – could mean years of people linking to its still relevant content. A blog post that retains its value over time can include how-to posts, definition posts (a beginner’s guide to something), top lists, or opinionated posts.

When you determine which posts fit into this category (through Google analytics, for example), try option #5 to further the reach and link-building potential of these posts.

2.  Make an RSS Feed for your blog

Be sure to set up an RSS feed for your blog so people can easily syndicate your blog posts, which allows for more potential attribution links back to your website. If you’re unsure what your RSS feed is, try Google’s RSS Subscription Extension in the Chrome browser.

Consider syndicating your blog with other sites. Syndication is where you let certain sites that use content with proper attribution to publish your posts, giving you inbound links and free publicity.

Try this excellent Google syndication tip for more ideas on syndicating your awesome blog and building links.

basic story elements3. Tell a story

When you rock your readers with a story, they are more likely to want to share it with others, spreading the love of your link. Sparking emotion with a story is a way to communicate your message and be remembered.

Dr. Seuss not only chants an uncomplicated story line, he can teach you the elements to a story merely by following along. The Dr. Seuss Hat Map for sketching out your idea won’t let you down either.

4.  Great content ideas

Write a book review, take a survey, do a case study, broadcast a webinar, or create free tools or templates to share.

Offer any of these as free information to boost your traffic and build links when people link to it and share it with others.  It’s always a good thing when you give away information that increases your authority and trustworthiness.

In addition, the author of the book or the subject of the study will often be glad to include a link to your work.

5.  Repurpose old content

Use your old blog posts to create new content that will generate more links for the same, original post.

 It’s hard to continually come up with a new ideas and write awesome content, so try to repurpose it by making it into a PDF that you can then post onto Scribd or Docstoc. Take a how-to post and submit it to eHow. If you haven’t already, upload your videos to YouTube and Vimeo for a wider audience and link appeal.

If you’re willing to delve deeper into link-building strategies, check out Jon Cooper’s comprehensive list of link building strategies. You’ll never be bored again, and your link-building will keep you busy pretty much forever.

If you just want to have some fun in Seussville.com, then take a break and find some chants of your own. Maybe a link-building idea will be born. Do let me know!

Thanks to Laura Candler for her terrific Dr. Seuss Hat Map!

Filed Under: Kacee's Posts, Marketing, Search Engine Optimization (SEO), Tips for a good website, Tools & Tips

Improve Your WordPress Site’s SEO With a Single URL

September 24, 2013 Beth Devine

splitidentityPINI bet you didn’t know your website has two identities, did you? That even now, people are confusing you with another similar, yet technically different site?

Here’s how to avoid a Dr. Jekyll and Mr. Hyde condition that weakens your SEO.

Searching for your website can involve looking for two different URLs. For instance, you could search for http://example.com or http://www.example.com. These are two distinct URLs, and if people are using both, your website’s SEO strength is being split into two parts.

This means your website’s two-faced identity is causing it to rank less since it has to share its ranking with its split personality. To get your SEO back to a single URL page, you need to set a canonical URL.

Canonical URL and 301 Redirect for SEO

When you set a canonical URL, all the versions of your site will be consolidated into one URL, regardless of how people search for it. Now search engines will know which URL to direct the viewer to.

Next, you have to set up a 301 permanent redirect. This will assure that viewers will always be redirected to your site, and Google recognizes that this is the site you have chosen for your domain. No more split personality!

Follow these steps to set your canonical URL and redirect your site to one permanent URL:

1. Choose the URL you want.

How do you have your website printed on business cards? Either way, it might be preferable to have a shorter site URL. In addition, it’s becoming less likely to see sites with http://www.example.com. The “www” is often considered as redundant.

2. Verify your site with Google.

You will need to verify both your sites at Google Webmaster Tools. Both the “www” and “non-www” versions must be verified before you can do the next step.

  • Sign into Google Webmaster Tools with your Google account. (If you’re signed into Chrome, type in Webmaster Tools in Google search and you will be directed there.)

  • Click Add a site in right upper corner.

  • Enter the URL of the unverified site by typing in the entire URL. (If neither site is verified, go to the Google verification page for options.)

  • Click Continue and you will see the Site verification page.

  • Pick the verification you want and follow the directions.

3.  Now you can specify your preferred URL

  • Click on the site you want to be your preferred site from the Webmaster Tools home page.

  • Click the gear icon and then click Site Settings.

  • Select which option you want your site to display as under Preferred domain.

  • Under Crawl rate keep the recommended “Let Google optimize for my site.”

4.  Go to cPanel to make a 301 permanent redirect

Remember, you want to redirect traffic from the URL you didn’t choose to the URL you selected as your preferred domain.

  • Go to cPanel. If you don’t know how to do this, see my post How to Change Your WordPress Username for directions.

  • Go to the section titled Domains and click on Redirects.

  • The type should say Permanent (301)

  • Change All Public Domains to the site you are redirecting.

  • In redirects type the site you chose as your preferred URL.

  • Select only redirect with www. (If you are changing your site from an old one to a new one with a different name, you might want to include “redirect with or without www.”)

5.  Validate your site’s permanent redirection

  • At the bottom of the cPanel Redirects screen it should now show your current redirects.

  • Open a new browser and type in the URL that you’re redirecting to see if it takes you to your site.

The other way to do a 301 redirect involves editing actual code. While I’ve taught myself basic code, I prefer to avoid situations where the power to code is a danger. However, you may wish to use htaccess file for your 301 redirects.

Enjoy your newfound unified URL and improved SEO!

Filed Under: Kacee's Posts, Marketing, Search Engine Optimization (SEO), Tips for a good website, Tools & Tips

Learn Basic HTML Code (and Fix Things All By Yourself)

September 16, 2013 Beth Devine

learn html codeCertain programmers, it seems, are horrified by the prospect of non-geeks taking up the scepter of coding know-how. With knowledge comes power. With power you gain independence.

When you learn basic HTML code you can fix unwanted formatting, add extra spaces, create line breaks, or introduce links and images. All by yourself.

We’re not talking full-on programmer or hard-core code monkey here. Learn basic HTML code and you can find the freedom to not only fix things, but you can add these links or images to your sidebar in the text widgets as well.

Basic HTML Code

learn code


Click on “Text,” your HTML (which stands for Hyper Text Markup Language) editor to see how a post looks compared to the visual or plain text where you type your posts. It’s in the upper right of the New/Edit Post menu in WordPress.

HTML code can normally be found between the carrots or angle brackets, like this: <html>. HTML tags are the keywords surrounded by the angle brackets.

  • HTML tags often come in pairs: <p> and </p>.
  • The start tag is the first tag and the second tag is the end tag.
  • The end tag looks like the start tag but with a forward slash before the keyword or tag name.
  • Start and end tags are also called opening tags and closing tags.

Everything that is found between an opening and closing tag is “wrapped” inside and will be displayed in the visual editor according to that type of tag. For example, when you want something bold, everything found between the start and end tag will make it bold, like this:

  • <strong>This sentence will be bold!</strong>

Here are more examples of simple HTML with start and end tags:

  • <p>This is the beginning and end of a paragraph.</p>
  • <em>This sentence will be in italics, or “emphasized.”</em>
  • <h1> This is the title or header.</h1>
  • <h2>This is the subheader.</h2>
  • <h3>This is another subheading.</h3>

If you use multiple tags to alter text, be sure to keep the end tags in the same order as the start tags.

There are also tags that don’t require both a start and end tag:

  • </ br> Use this HTML tag to create a line break, or to skip a line
  • <hr> This gives you a line across the page and stands for horizontal reference.
  • To add a single space type these 6 characters in: &nbsp;  (This stands for non-breaking space.)

HTML for Links

Link tags make those blue-colored (or occasionally other-colored) and sometimes underlined hyperlinks that you can click on and go to another website or another page. Link tags in HTML come in a set of two beginning with <a href and ending with </a>. Here is an example of a hypertext link, also known as an anchor text link:

<a href=”your url here”>your anchor text here</a>

When creating a link to Google.com it will look like this:

<a href=”http://www.google.com/“>Google</a>

This is what it will look like in your text: Google

  • The “a” stands for anchor and starts the link to another page.
  • The “href” stands for hypertext reference and tells the browser where the link is going
  • Add the full URL address to where the link goes. It has an equal sign in front of it and is enclosed in quotes because it’s an attribute of the anchor tag, which is a command inside of a command.
  • The anchor text is what appears on the page that the viewer will read and be able to click. Always write something that names the link instead of generic terms such as “click here.”
  • The “/a” ends the link command.

For a Link to a New Window

If you want the link to open in a new window (which is what you want your links going to a different site to do), you need to add a target, like this:

<a href=”http://www.google.com/” target=”_blank”>Google</a>

Now your link will open in a new window: Google

For a Link With Pop-Up Text

If you want to add text that pops up when you hover over the link with your mouse, you need to add a title, like this:

<a href=”http://www.google.com/” title=”Google me!”>Google</a>

Now try hovering over the link: Google. (I know, it’s so cool, isn’t it?)

HTML for Images With the <img> Tag

This is the tag you use when you display an image:

<img src=”image.gif” alt=”name of image”>

An image of your favorite cat photo might look like this:

<img src=”favoritecat.gif” alt=” Cutest Cat Ever”>

  • “Src” stands for source and the “image.gif” is the url of where the image is stored. Your WordPress site has a media library where you can upload and store images for display.
  • The “alt“ attribute specifies the alternate text for the image if the image cannot be displayed for some reason.

To Shift the Image to the Right

When you want to shift the image to the right you need to add that information to the end of the tag, like this:

<img src=”url of image” alt=”image name often keyword” align=”right” />

You can change the “right” to “left” or “center” to float the image wherever you want it. Now you are no longer a Rookie, and you can add Beginning HTML Expert to your resume.

Filed Under: Kacee's Posts, Tips for a good website, Tools & Tips, Website Maintenance

How to Build a Landing Page

August 19, 2013 Beth Devine

how to build a landing pageA landing page is made to get your visitor to do something specific. Everything about a landing page is meant to persuade the visitor to a desired action.

Know the Purpose

What do you want your visitor’s to do?

The purpose of your landing page could be to sell a product or service, get emails or subscribers, or sign up trial users. Find one goal and one goal only.

Whatever your goal is, make it straightforward. No sales pitch. No gimmicks. No confusion. Everything on the landing page is designed to entice visitors toward this goal.

Ask yourself: What’s the purpose, what am I offering, and how will they benefit?

Create Copy that Converts

Use a headline and possible subheads that are consistent with your goal.

Give your visitors a clear headline with a solution to a specific problem. People are usually in research mode when they are looking for something online. Show them the benefit to selecting you in a few words.

Write in second person using you and your.

Showcase your product or service to get visitors to empathize with a real-life scenario where they’re using what you’re offering. By focusing on visitors and not your product using the words you and your, you are helping them to envision what they will get out of the deal, increasing the perceived value of your offer.

Call to action – tell your visitors what they need to do.

Don’t use general call to actions like download now, submit, or click here. Be specific and include exactly what clicking on the graphic button will do for your visitor

The call to action should jump out from the landing page. It’s okay to include it more than once, especially if there is more scroll-down content. Add another CTA button beneath the layer of content “below the fold.”

Design for Simplicity

Less is more when your objective is singular.

Minimize all visual elements on the landing page. Eliminate anything that doesn’t support the desired action. Your landing page is very different from your home page.

No cutesy photos, no extraneous graphics, nothing that will distract the visitor from the goal. Think wide open space.

Use one column of text. Any additional columns should be placed to the side and used only as support for the objective. This could include testimonials, endorsements, client lists,

Include a hero shot.

The hero shot is the visual that sums up your offer at a glance. It can be a photo, diagram, chart, or graphic that captures your visitors’ attention and keeps their focus on the goal.

The hero shot can also help to create the real-life scenario that induces a feeling of what it would be like to use what you’re offering.

Speaking of heroes, check out Web Savvy Marketers’ own super heroes for website design and marketing. We make it fun, all extraordinary powers included.

Many landing pages feature one large photo with a bare minimum of text. Videos provide visitors a passive engagement medium, so don’t dismiss them as an option, particularly as the popularity of Vine and Instagram continue to grow.

For the Visitors Who Opt Out

Adding social media invite buttons give your visitors a back up to selecting your offer. Other back-up plans include giving something away or including a remind me later option where visitors can receive a reminder via email at a future date of their choosing.

Re-Build as Necessary

If it isn’t performing, change it. Improve a landing page that’s not working in your marketing plan.

“Landing pages are the new direct marketing, and everyone with a website is a direct marketer.” Seth Godin

If You Build It, They Will Come.

Build momentum toward one clear goal for your visitors, and they will come to your landing page with a clear expectation of what they will get from you.

Filed Under: Kacee's Posts, Tips for a good website, Tools & Tips, Web Design

  • « Previous Page
  • 1
  • 2
  • 3
  • 4
  • 5
  • …
  • 7
  • Next Page »

Recent Posts

  • Is Sustainability Part of Your Plan?
  • Preferred Utilities
  • Post Pandemic Workplace Design
  • A Review of 2022 as We Look to 2023
  • “Neurodiverse” Doesn’t Equal “Disabled”

Search this site

Call Us

860-432-8756

Our Location

222 Pitkin Street, Suite 125
East Hartford, CT 06108
Phone: 860-432-8756

Services

  • Marketing Services
  • Strategic Planning
  • Internet Marketing
  • Multi-Media Productions
  • Marketing Programs

Talk to Us

Follow us, subscribe to us, email us, or call us at 860-432-8756. We’ll use our Super Savvy Tool Belt to stay in touch however you prefer.

  • Email
  • Facebook
  • Google+
  • LinkedIn
  • Pinterest
  • Twitter
Sign Up for Email Updates
For Email Marketing you can trust.

Copyright © 2023 Web Savvy Marketers, LLC · 222 Pitkin Street, Ste. 125 · East Hartford, CT 06108 · 860-432-8756 · Privacy Policy · Log in